
In my ongoing scheme to get as much functionality on Windows as a lack of admin access will give me, here is a path to installing a Linux VM, which you can administer fully, into Windows 11 in which you don’t have admin rights.
Downloaded the QEMU Windows 11 installer. I used wget, but a browser or whatever is fine:
wget https://qemu.weilnetz.de/w64/2023/qemu-w64-setup-20230822.exe
Unzipped the exe (right-clicked on the file, chose something like ‘open with 7zip’ or similar) — that seemed to work … copied all the content into some folder.
C:\Users\darren\installs\QEMU
Added this to the path for my account. Then opened a regular CMD window (not admin window — I am not allowed too…). Went to the folder where I want the VM to live (created it first if need be):
cd C:\Users\darren\installs\slitaz
Made a disk — that is, created the drive for the VM:
qemu-img create -f qcow2 slitaz-image.img 20G

Formatting 'slitaz-image.img', fmt=qcow2 cluster_size=65536 extended_l2=off compression_type=zlib size=21474836480 lazy_refcounts=off refcount_bits=16
Got the install media — I have chosen SliTaz Linux because it is relatively low in system requirements, and installing in user space means some speed-ups that would otherwise be on offer (like hardware acceleration, that’s a buzzword that comes to mind) are not possible.
wget http://mirror.slitaz.org/iso/rolling/slitaz-rolling.iso
I suggest you view this page:
Boot with some instructions:
qemu-system-x86_64 -m 2048 -boot d -smp 2 -hda slitaz-image.img -cdrom slitaz-rolling.iso
What doe this mean?
-m 2048 = machine has 2 GB of RAM
-boot d = boot off the CD drive
-smp 2 = model a 2 processor machine
-hda slitaz-image.img = the hard disk to use
-cdrom slitaz-rolling.iso = what to put in the virtual CD drive
the Slitaz disc boots and we get the live disc desktop.
 Some issues with mouse integration, let’s forget that for now. I can right-click in middle of GUI window and choose to launch application, and run xterm and then run tazpanel.
Then clicked on head and shoulders icon and became root; then chose Installation > Install SliTaZ from the panel top menu.
 Ran GParted and made the partitions — all as per normal installation (a few GB of swap, and a root partition).
Filled out the details in the installer and off it went.
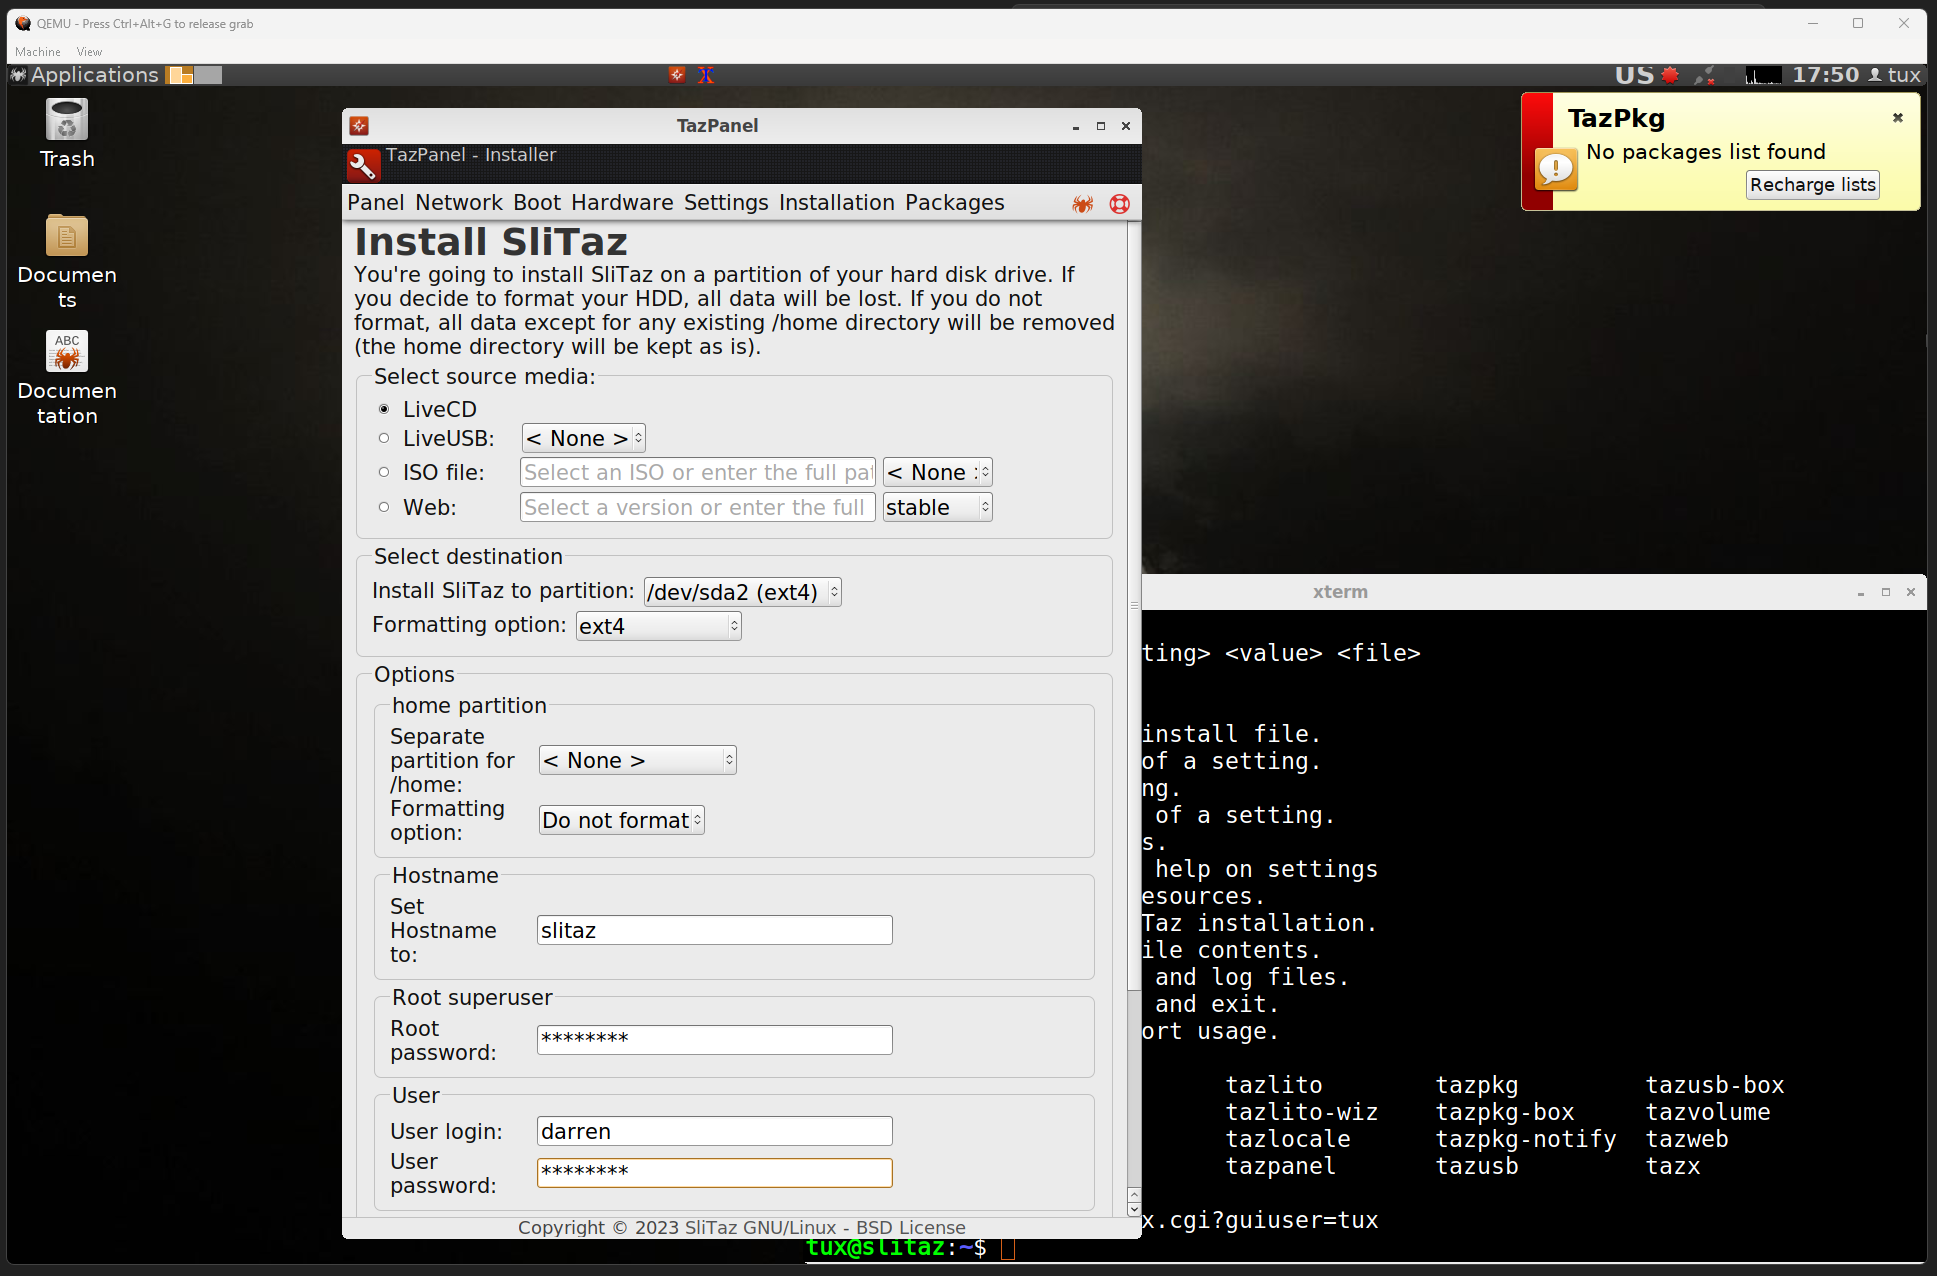 Note: SliTaz doe not like spaces in passwords. Make sure you install a bootloader — this will not be a shared disk, so that means I just chose the first option.
Reboot! That means shutdown the machine, then run it using a different QEMU command, because we don’t want to boot off the CD now.
qemu-system-x86_64 -m 2048 -boot c -smp 2 user -hda slitaz-image.img
In my case, I have not got -nic options in the boot command, because the defaults worked. From within the machine, I can ping 8.8.8.8, browse the web, and update SliTaz and install software.
Mouse is a bit flaky, and have to try a couple of times to boot it sometimes, but on the whole not bad. An admin-able machine inside a Windows machine that I am forbidden to admin!
